Backend Integration
By default Rosavo uses static JSON mock files for data. This page explains how to replace them with a real backend using PayloadCMS — a modern, headless CMS built with TypeScript and Node.js.
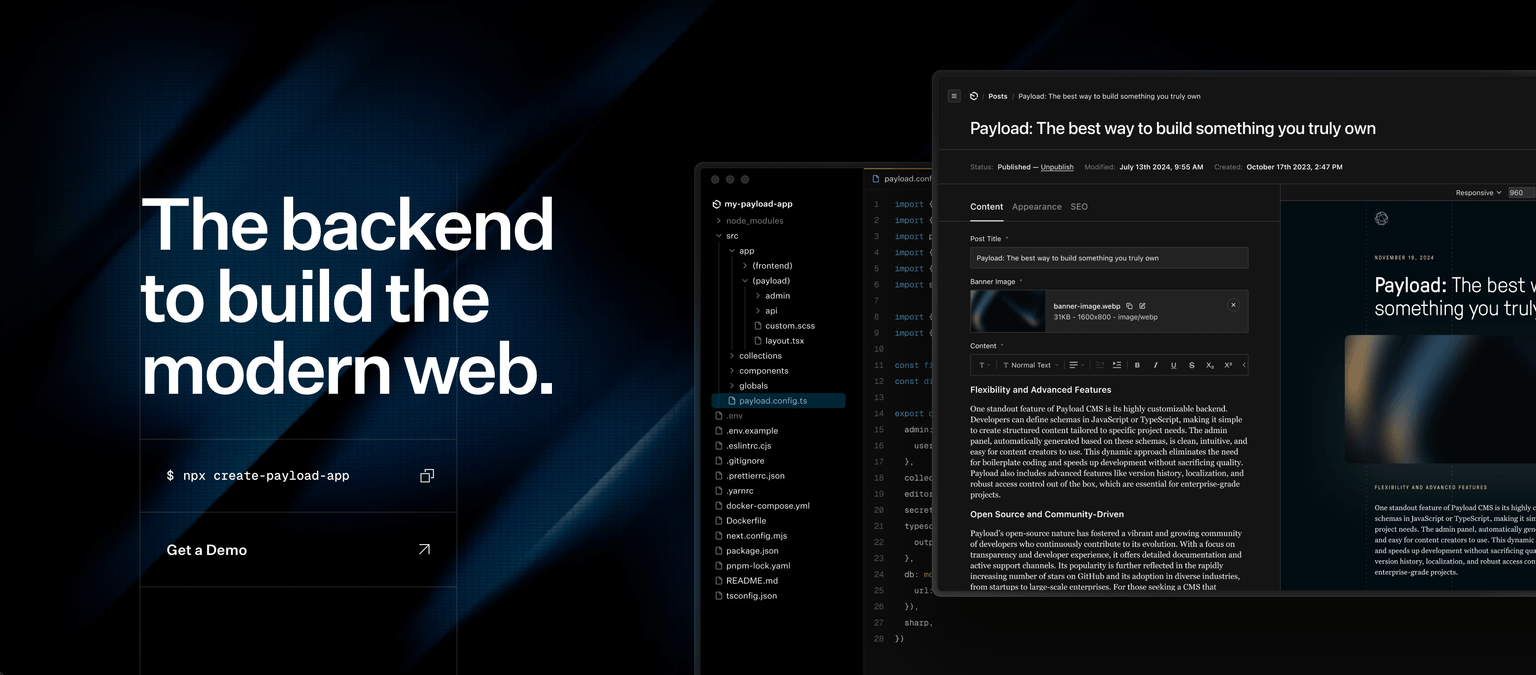
Why PayloadCMS?
TypeScript-first
Fully typed, schema-driven — no runtime surprises.
REST & GraphQL out of the box
Instant API endpoints for every collection you define.
Built-in Admin Panel
Manage products, categories, and orders without writing extra UI.
Self-hosted
Deploy on your own server or cloud — no vendor lock-in.
Setup PayloadCMS
Install PayloadCMS
Scaffold a new Payload project (runs alongside or separately from the Nuxt frontend):
npx create-payload-app@latest
Choose Blank template, select MongoDB or PostgreSQL as your database, and follow the prompts.
Set the API URL
Add the Payload base URL to your .env file at the project root:
NUXT_PUBLIC_API_BASE=http://localhost:3001
Then expose it in nuxt.config.ts:
export default defineNuxtConfig({
  runtimeConfig: {
    public: {
      apiBase: '',
    },
  },
})
For production, replace http://localhost:3001 with your deployed Payload instance URL.
Define Collections
Create collections that match Rosavo's data model. Example — Products:
import type { CollectionConfig } from 'payload'

const Products: CollectionConfig = {
  slug: 'products',
  fields: [
    { name: 'name', type: 'text', required: true },
    { name: 'description', type: 'textarea', required: true },
    { name: 'price', type: 'number', required: true },
    { name: 'rating', type: 'number' },
    { name: 'image', type: 'upload', relationTo: 'media' },
    {
      name: 'gallery',
      type: 'array',
      fields: [{ name: 'image', type: 'upload', relationTo: 'media' }],
    },
    {
      name: 'tags',
      type: 'array',
      fields: [{ name: 'name', type: 'text' }],
    },
    {
      name: 'colors',
      type: 'array',
      fields: [
        { name: 'name', type: 'text' },
        { name: 'hexCode', type: 'text' },
      ],
    },
    { name: 'isBestseller', type: 'checkbox', defaultValue: false },
    { name: 'isFeatured', type: 'checkbox', defaultValue: false },
  ],
}

export default Products
Register it in payload.config.ts:
import { buildConfig } from 'payload'
import Products from './collections/Products'

export default buildConfig({
  collections: [Products],
  // add more collections as you replace other mock files, e.g. Promocodes
})
Connect Rosavo to the API
Create a shared base composable in app/composables/:
export const useApi = <T>(endpoint: string) => {
  const { public: { apiBase } } = useRuntimeConfig()
  const token = useCookie('auth_token')

  return useFetch<T>(`${apiBase}${endpoint}`, {
    headers: token.value
      ? { Authorization: `Bearer ${token.value}` }
      : {},
  })
}
Then replace each static JSON import with a one-line composable:
export const useProducts = () => useApi('/api/products')
export const usePromocodes = () => useApi('/api/promocodes')
As you add more collections (e.g. Orders, Reviews), follow the same pattern. Nuxt auto-imports everything from app/composables/ — no manual imports needed.
Update Existing Pages
The project pages currently import data directly from the local mock files:
import { products } from '~/mocks'
After creating your composables, replace these direct imports in each page:
| Page file | Current import | Replace with |
|---|---|---|
pages/home.vue | import { products } from '~/mocks' | const { data: products } = await useProducts() |
pages/shop.vue | import { products } from '~/mocks' | const { data: products } = await useProducts() |
pages/search.vue | import { products } from '~/mocks' | const { data: products } = await useProducts() |
pages/product/[id].vue | import { products } from '~/mocks' | const { data: products } = await useProducts() |
pages/my-promocodes.vue | import { promocodes } from '~/mocks' | const { data: promocodes } = await usePromocodes() |
docs array. After replacing imports, update data references in templates from item to item.docs where needed.Use in a Component
<script setup lang="ts">
const { data: products, pending, error } = await useProducts()
</script>

<template>
  <div v-if="pending">Loading...</div>
  <div v-else-if="error">Error: {{ error }}</div>
  <ul v-else>
    <li v-for="product in products?.docs" :key="product.id">{{ product.name }}</li>
  </ul>
</template>
Recommended Collections
| Collection | Replaces | Purpose |
|---|---|---|
products | products.json | Products with images, prices, and metadata |
promocodes | promocodes.json | Discount codes and their conditions |
Useful Links
/api/<collection>) and an Admin UI (/admin) for every collection you define — no extra configuration needed.